When handling large and fragile items, you'll need proper equipment and materials to guarantee safe transport and prevent damage. Start by selecting sturdy, double-walled cardboard boxes that allow two inches of space on each side for cushioning materials like bubble wrap and foam sheets. Use cushioned transport carts and dollies for moving heavy pieces, and secure items with straps to prevent shifting during transit. You'll want to document the condition of items before packaging and maintain proper insurance coverage. Proper training in lifting techniques and equipment operation is essential for staff handling these items. The thorough approach to safe handling extends far beyond these basic steps.
Equipment For Safe Handling
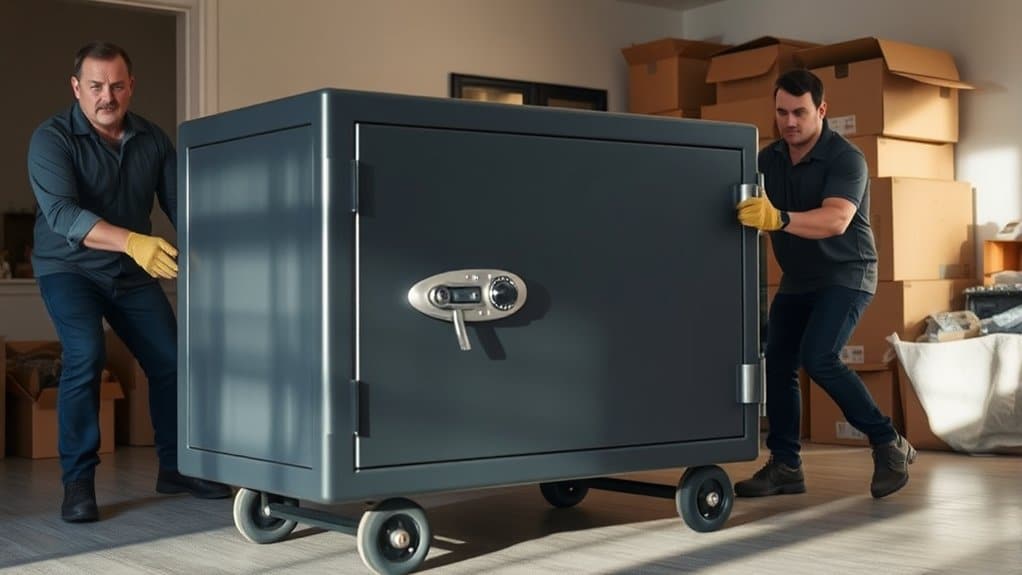
The proper equipment for handling large and fragile items is essential for preventing damage and guaranteeing safety. When you're working with delicate pieces, you'll need specialized tools that protect both the items and the handlers. Cushioned transport carts and smooth-wheel equipment help reduce vibrations that could damage fragile goods during movement. Additionally, using specialized resources during transport can enhance the safety of delicate electronics like TVs.
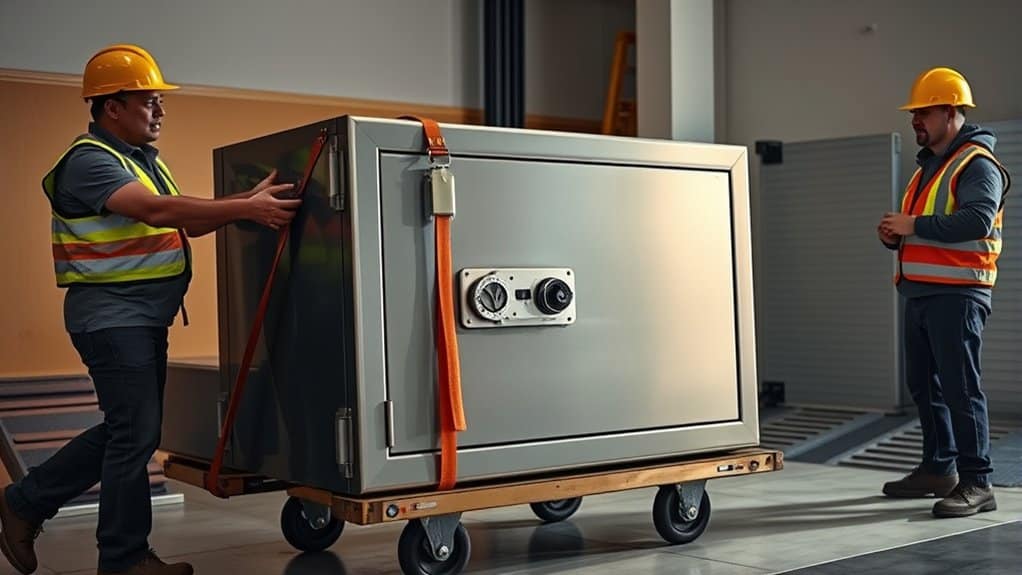
To maintain effective handling techniques, you'll want to use dollies and lifting harnesses for managing heavier items safely. These tools, combined with proper straps and tie-downs, guarantee your items remain secure throughout transportation. Personal protective equipment should be worn at all times to ensure handler safety.
It's important to remember that regular equipment maintenance keeps your tools working reliably and prevents unexpected failures during critical movements.
Air-ride suspension vehicles are particularly valuable when you're transporting fragile items over longer distances. They minimize road vibrations that could otherwise cause damage.
You'll find that using the right combination of equipment makes a considerable difference in protecting your items. Remember to inspect all equipment before use, guaranteeing straps aren't frayed, wheels roll smoothly, and cushioning materials remain intact.
This attention to detail in equipment selection and maintenance considerably reduces the risk of damage during handling and transport.
Protective Packing Materials
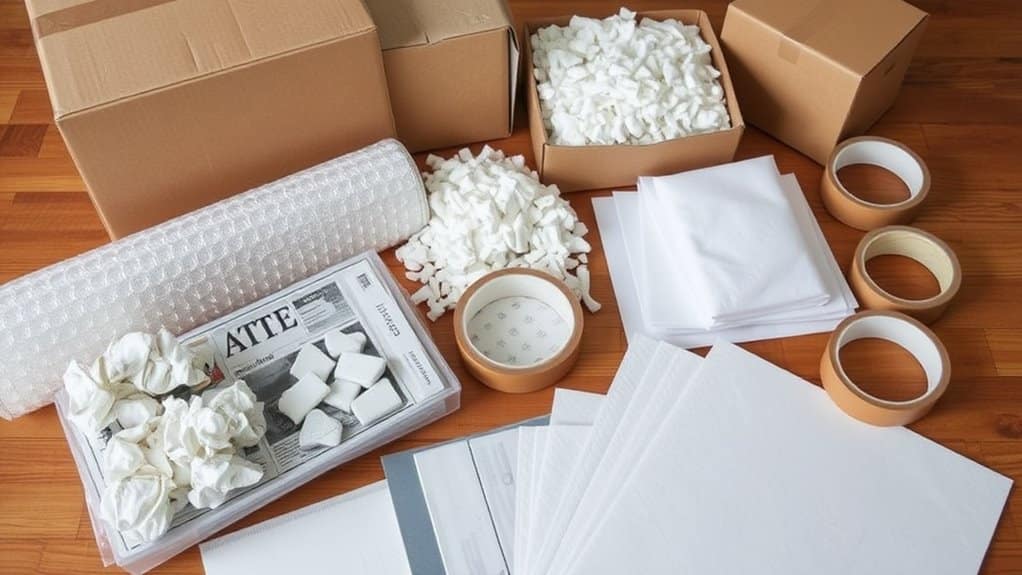
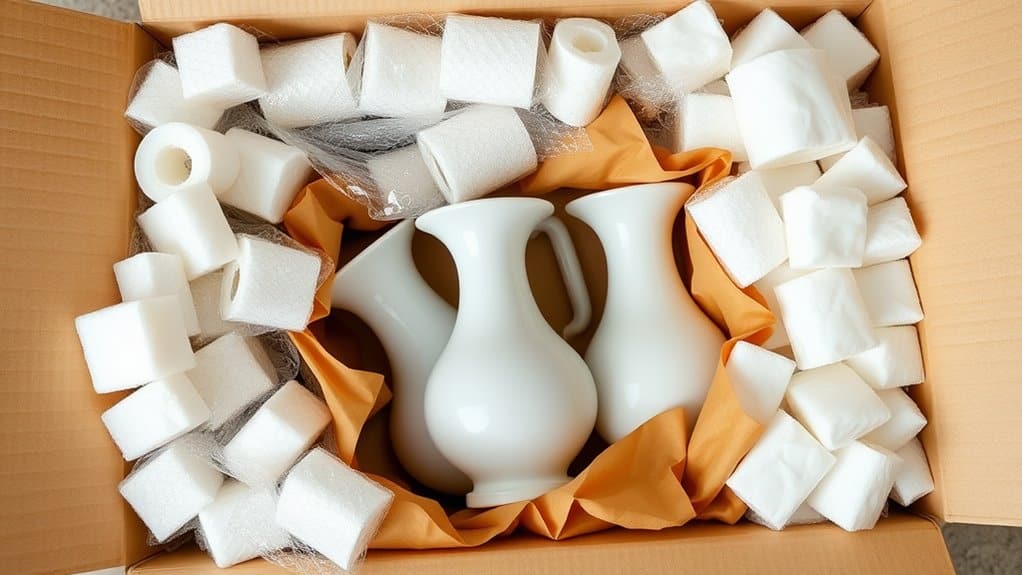
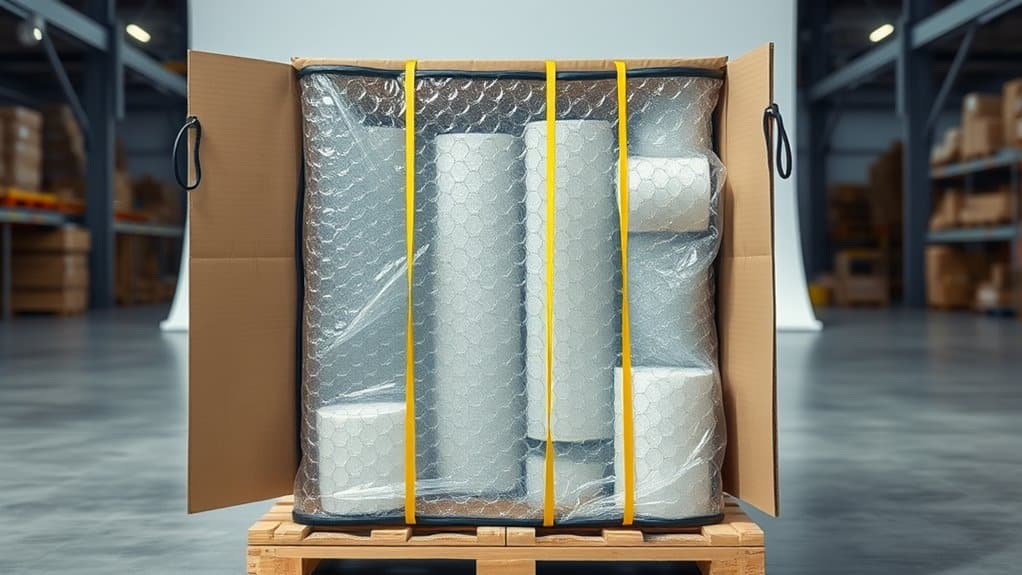
Properly selecting protective packing materials stands as your first line of defense when handling large and fragile items. When it comes to fragile item protection, you'll need to combine different materials for maximum safety. Your packing material selection should focus on creating multiple layers of protection, ensuring your items remain secure during transport or storage. During holiday shipping seasons, extra precautions become especially critical. Professional packing services can also ensure items are protected effectively, providing peace of mind.
Consider these essential materials for protecting your valuable items:
- Bubble wrap provides vital shock absorption and should be your primary layer against impacts.
- Foam sheets and custom inserts offer precise protection for irregularly shaped objects.
- Packing peanuts fill empty spaces, preventing unwanted movement within boxes.
- Corrugated cardboard serves as both external protection and internal dividers.
- Eco-friendly alternatives like Flexi-Hex Air Sleeves give you sustainable options.
You'll want to wrap individual items in bubble wrap first, then secure them with foam sheets where needed. For additional protection, fill any remaining space in your box with packing peanuts or crumpled paper.
Remember that combining different materials often provides better protection than relying on a single type, especially when dealing with particularly delicate or valuable items.
Strategic Box Selection
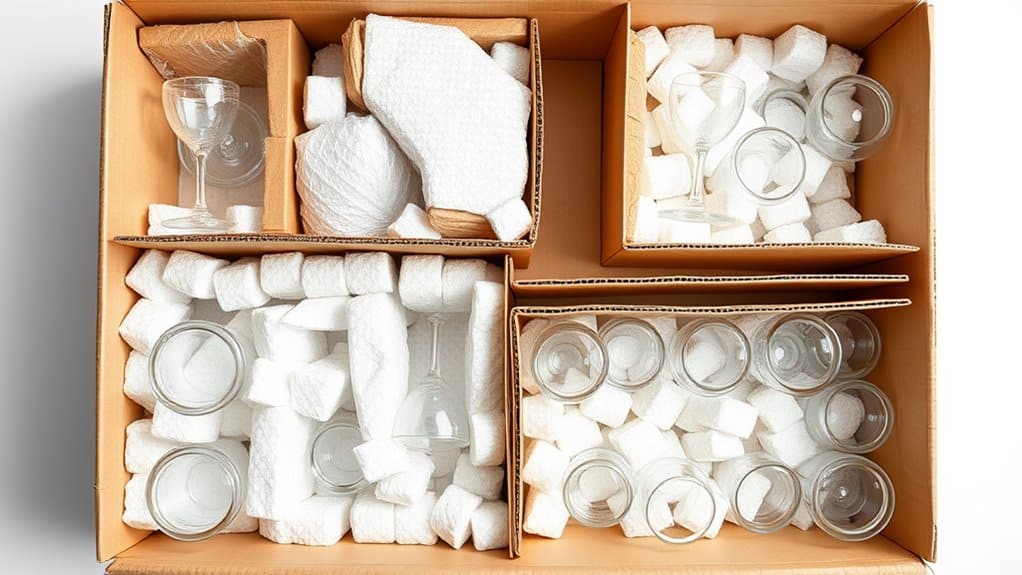
Selecting the right box serves as a critical foundation for protecting large and fragile items during transport. When you're choosing a shipping container, you'll need to take into account box dimensions that allow roughly two inches of space on each side for proper cushioning techniques. Additionally, truck size options play a significant role in ensuring that your large items are transported safely.
Remember, an oversized box isn't better, as excess space can lead to unwanted movement and potential damage. A thorough inspection before sealing helps ensure proper packaging and positioning of items.
You'll want to prioritize high-quality corrugated boxes that can withstand the rigors of shipping. These boxes provide a sturdy outer layer that's essential for protecting your items, especially when they're particularly valuable or delicate.
If you're shipping extremely fragile items, think about using a double-boxing method, where you'll place your properly cushioned item in a smaller box before placing it inside a larger outer container.
When selecting your box, take into account the specific nature of your item and how far it needs to travel. You might need specialized boxes with custom inserts for uniquely shaped items.
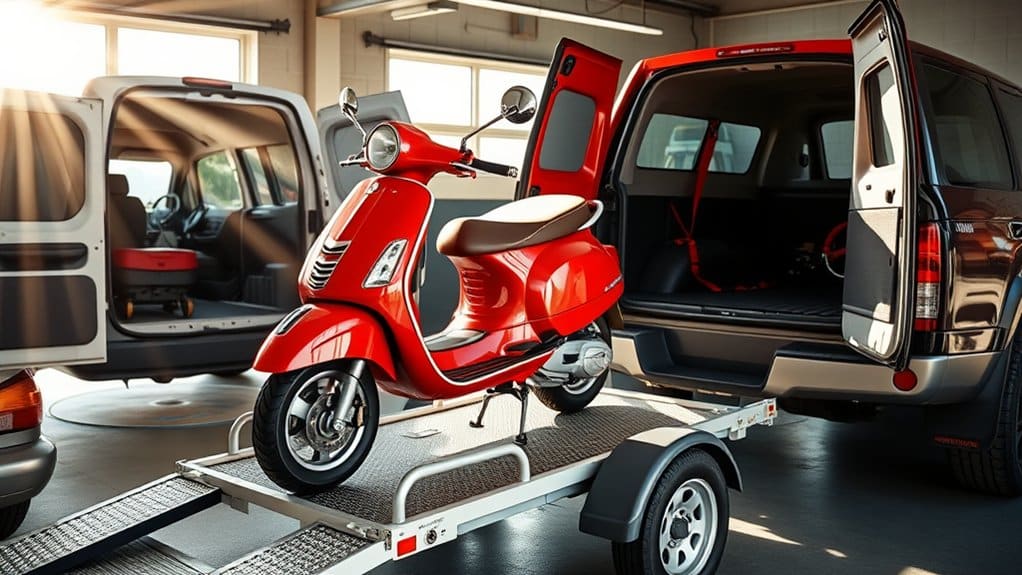
Loading Techniques
Mastering proper loading techniques stands as an essential step in safeguarding your large and fragile items during transport.
When it comes to fragile item placement, you'll want to focus on strategic positioning that minimizes movement and potential damage during transit. Loading sequence optimization plays a vital role in ensuring your items arrive safely at their destination.
Here's what you need to know about proper loading techniques:
- Place heavier boxes at the bottom of your truck, creating a stable foundation for lighter items.
- Position fragile items toward the center of the vehicle to protect them from sudden stops and turns.
- Use straps and tie-downs to secure boxes firmly in place, preventing unwanted shifting.
- Create buffer zones around delicate items using soft materials like blankets or bubble wrap.
- Fill any gaps between items with packing materials to eliminate movement space.
Remember to distribute weight evenly throughout the truck to maintain balance during transport.
You'll want to avoid stacking fragile boxes on top of each other, even if they're clearly marked. Instead, create a single layer of delicate items surrounded by protective materials, ensuring maximum safety during the move. With the expertise of top cross-country movers specializing in NYC to CA moves, you can ensure your items are handled with care throughout the journey.
Transportation Safety Measures
Once your items are loaded correctly, implementing robust transportation safety measures becomes your next priority.
You'll need to focus on minimizing transportation risks through multiple layers of protection and careful monitoring. Start by reinforcing your boxes with additional packing tape on the top and bottom, making certain they won't burst open during transit. Use straps or bands to secure larger items, preventing any unwanted movement that could lead to damage.
Modern safety technology, like tracking services, allows you to monitor your shipment's progress in real-time. You'll want to choose reputable couriers who specialize in handling fragile items and provide extensive insurance coverage. In addition, hiring specialized moving companies can enhance the safety and reliability of your long-distance move.
Don't forget to use non-slip mats and corner protectors to keep items stable during transport. For extra protection, consider using foam inserts or inflatable airbags, especially for particularly delicate pieces.
If you notice any issues during shipping, contact your carrier immediately. You should regularly check tracking updates to confirm your items are moving according to schedule.
Remember to document everything, from initial packaging to final delivery, as this information becomes vital if you need to file an insurance claim.
Warehouse Storage Best Practices
Implementing proper warehouse storage practices for large and fragile items demands a systematic approach to protect your valuable merchandise. Your shelving strategies should focus on creating dedicated zones for delicate items, keeping them separate from heavier products and closer to ground level.
When you're developing your inventory control system, make certain you're tracking both location and condition of each item while training your staff in proper handling techniques.
To maintain the safety of your fragile items, you'll need a well-organized storage environment that includes:
- Climate-controlled areas with temperatures between 53-85°F
- Sturdy, adjustable shelving with proper weight capacity
- Protective dividers and padding between stored items
- Clear labeling systems for fragile goods
- Designated spaces for different size categories
You'll want to guarantee your storage areas remain consistently organized and monitored.
Use high-quality packaging materials when storing items, including bubble wrap, foam inserts, and specialized containers for particularly delicate pieces.
Don't forget to maintain proper humidity levels in your storage space, as moisture can damage many fragile items. Regular inspections of both the storage conditions and item conditions will help prevent potential damage.
Professional Handling Guidelines
When you're managing large and fragile items, you'll need proper equipment like lift gates, dollies, and safety gear, along with clear protocols for each type of item.
Your staff must receive thorough training in proper lifting techniques, equipment operation, and emergency procedures to prevent accidents and damage.
Regular inspections of handling equipment, storage areas, and safety gear should become part of your daily routine, ensuring everything meets required standards and remains in good working condition.
Equipment and Safety Protocols
Professional handling of large and fragile items demands specialized equipment and strict safety measures.
You'll need automated systems to guarantee packaging efficiency and consistent protection for your valuable items. Modern facilities use sophisticated machinery, including foam-in-place systems and soft-cut equipment, to create customized packaging solutions that perfectly fit your items.
When handling large and fragile items, you'll want to guarantee these essential safety protocols are in place:
- Wear appropriate safety gear when manually handling items
- Use IoT sensors to monitor temperature and humidity conditions
- Keep hazardous materials separate from regular cargo
- Apply clear warning labels and handling instructions
- Implement proper loading and unloading procedures
Your fragile items require specialized testing equipment to verify packaging effectiveness. Drop-test apparatus and vibration tables help simulate real-world transit conditions, guaranteeing your items will arrive safely.
You'll need to properly fill all empty spaces with cushioning materials like bubble wrap or foam, and make sure automated packing machines apply consistent tension to secure everything.
Training Staff Effectively
Through thorough staff training, you'll establish a foundation for safe and efficient handling of large and fragile items.
Begin by implementing extensive training programs that cover essential handling techniques, equipment usage, and safety protocols. You'll need to guarantee proper staff engagement through practical demonstrations and hands-on exercises.
Focus on teaching your team specific handling procedures for different types of items, from large furniture to delicate electronics. Train them to use specialized equipment like cushioned transport carts and protective gear effectively.
Encourage training feedback to identify areas where additional instruction may be needed, and maintain ongoing communication about best practices.
Incorporate team coordination exercises that emphasize proper lifting techniques and the importance of working together when moving larger items.
Make sure your staff understands how to identify fragile items, use appropriate cushioning materials, and document any concerns or damage properly.
Regular training sessions will help reinforce these vital skills and keep safety protocols fresh in everyone's minds.
Remember to maintain detailed documentation of all training procedures, making them easily accessible for reference and review when needed.
Daily Inspection Requirements
A robust inspection routine forms the cornerstone of protecting large and fragile items in any handling operation.
You'll need to maintain a consistent inspection frequency throughout the day, guaranteeing proper handling and storage practices are followed. Your damage assessment procedures should include thorough checks before, during, and after handling these delicate items.
To effectively manage your daily inspections, follow these essential guidelines:
- Examine all items carefully before handling, noting any existing damage or weak points
- Check storage areas to guarantee proper spacing and weight distribution
- Verify that handling equipment is in good working condition
- Monitor packaging integrity and replace as needed
- Document all findings in your inspection logs
When you're conducting inspections, you'll want to pay special attention to your storage setup.
Make sure you're using appropriate shelving that can support the weight of your items, and don't forget to use proper separators to prevent contact between pieces. You should also guarantee that your staff is using the right protective equipment and following correct lifting techniques.
Remember to address any issues immediately when you spot them, as quick responses can prevent more serious problems from developing.
Damage Prevention Strategies
When you're handling large and fragile items, it's crucial to implement strategic layering techniques, including multiple wraps of protective materials and cushioning between each layer.
You'll need to stock up on necessary packing materials, such as bubble wrap, foam inserts, and sturdy double-walled boxes that match your items' dimensions.
Following strict movement safety protocols, like using both hands for lifting and utilizing cushioned transport carts, will greatly reduce the risk of damage during handling and transit.
Strategic Layering Techniques
Standing between your fragile items and potential damage, strategic layering techniques serve as a critical defense system during the packing process. When you're implementing layering methods, you'll need to start with a sturdy foundation of at least 2 inches of cushioning material, ensuring your items have proper shock absorption from the start.
These packing strategies become even more effective when you combine them with double boxing techniques, which create multiple barriers of protection.
Here's what an effective strategic layering system looks like:
- Start with a thick base layer of cushioning material at the bottom
- Place your item diagonally to reduce pressure on vulnerable corners
- Add protective framing around the item using foam or bubble wrap
- Fill all void spaces to prevent unwanted movement
- Top off with another thick layer of cushioning material
You'll want to pay special attention to the distribution of your packing materials, making sure there's even coverage throughout.
When you're dealing with particularly delicate items, consider using the suspension technique, which keeps your item floating within the box using elastic or foam supports. This method considerably reduces the risk of damage from external impacts.
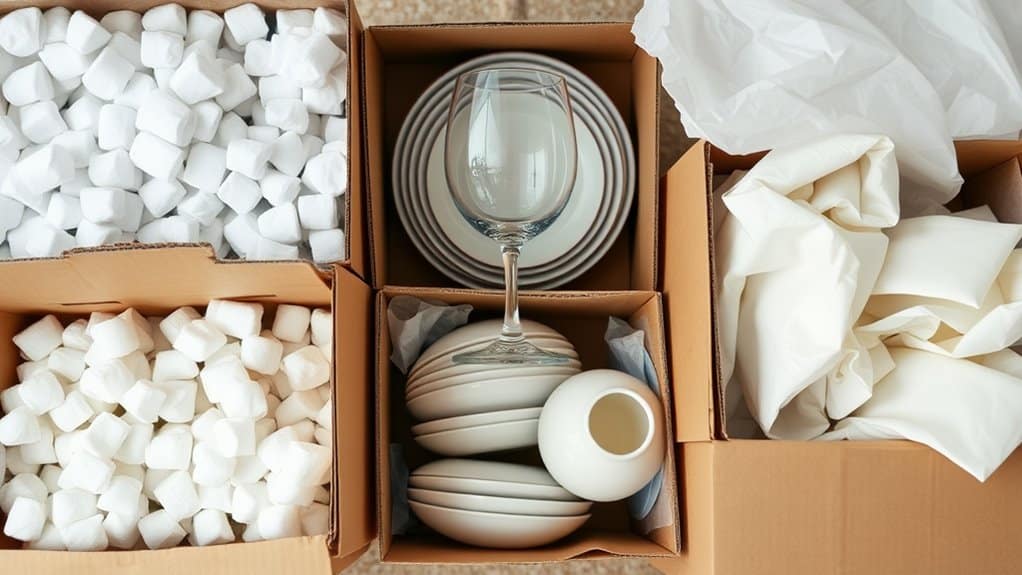
Essential Packing Materials
The right packing materials form your first line of defense against shipping damage. When you're dealing with large and fragile items, you'll need to select high-quality materials that provide maximum protection.
Start with sturdy, corrugated cardboard boxes, preferably double-walled for heavier items, and make sure they're appropriately sized to prevent shifting during transit.
Your cushioning options should include multiple layers of protection. Bubble wrap serves as your primary defense for delicate items, while packing paper helps fill empty spaces and provides additional padding.
You'll want to wrap each fragile piece individually, securing them with packing tape to maintain the protective layer. For extra protection, consider using foam inserts or polystyrene peanuts to create a stable cushioning environment within the box.
When assembling your package, create a base layer of cushioning material before placing heavier items at the bottom. You'll need at least two inches of padding on all sides, and don't forget to use cardboard partitions when packing multiple items together.
Finally, seal everything securely with strong packing tape, reinforcing all seams and clearly marking the box as "Fragile."
Movement Safety Protocols
Successful movement of large and fragile items demands a methodical approach to damage prevention. When you're handling delicate pieces, it's vital to implement proven movement strategies that protect your valuables during transport.
You'll need to focus on proper positioning, securing techniques, and careful handling throughout the entire moving process.
Here are the essential protocols you'll want to follow:
- Place fragile items in the center of the truck to minimize impact from sudden stops
- Create buffer zones using blankets or soft materials around delicate boxes
- Check and adjust securing straps regularly during transport
- Drive carefully, avoiding quick turns and sudden stops
- Plan your route to avoid rough roads and heavy traffic areas
Remember to distribute weight evenly throughout your vehicle to prevent tipping, and always mark your boxes clearly with "FRAGILE" labels on multiple sides.
You'll want to position these items last in the truck so they're the first to be unloaded, reducing their time in transit.
Unpacking Procedures
When unpacking large and fragile items, proper preparation and systematic handling make all the difference. To maximize unpacking efficiency, you'll need to create a clear, clutter-free workspace and position boxes on protective surfaces like towels or furniture pads.
Before you begin, verify you've gathered all necessary tools and sorted boxes into their designated rooms to avoid unnecessary movement.
For peak fragile item care, you'll want to open boxes carefully by cutting along seams, and handle each item individually. Remove protective materials slowly while checking for any damage, and place items directly in their permanent locations.
You'll find it helpful to work with proper lighting and maintain a clean, organized space throughout the process.
As you unpack, remember to use sturdy surfaces and avoid overloading any area with too many items. Start with heavier, more stable pieces first, and keep fragile items separate from other belongings.
Insurance And Documentation
Protecting valuable items requires extensive insurance coverage and meticulous documentation.
When you're dealing with large and fragile items, it's crucial to understand the insurance benefits that safeguard your shipments against potential damage, loss, or theft. You'll want to select coverage that matches your specific needs, whether it's full cargo coverage or additional protection beyond standard carrier liability.
To guarantee a smooth claim process, you'll need to maintain thorough documentation throughout the shipping journey.
Here are key steps you should follow:
- Photograph your items before packaging and after unpacking
- Document the packaging methods and materials used
- Keep detailed records of shipping dates and tracking information
- Save all correspondence with carriers and insurance providers
- Report any damage immediately upon delivery inspection
Conclusion
You'll be surprised to learn that over 80% of damage to large, fragile items occurs during the first and last 5 minutes of handling. By following proper packing techniques, using appropriate materials, and maintaining careful transportation procedures, you've now got the knowledge to protect your valuable items. Remember, it's always worth taking extra time with preparation and handling, as rushing through these steps can lead to costly mistakes and irreplaceable losses.